Need to submit artwork with Photoshop for your Vancouver business cards or another printing project? Here’s how correctly set up the bleed lines with Photoshop. Questions? Feel free to contact us at PrintPrint: 604-265-5914, info@printprint.ca.
Creating the Bleed lines with Photoshop
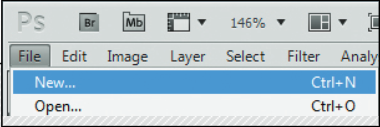
Create a new file
Sizing
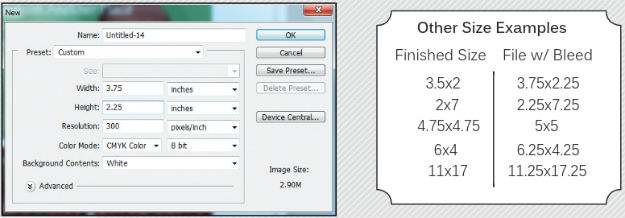
Make sure the document is set up at 300 dpi. when sizing a document you have to add the bleed to the final file size. This is done by adding 0.25 inches to the size in both directions.
So if you wanted a final size of 3.5 x 2 inches you would set that up in Photoshop as 3.75 x 2.25. This rule is the same regardless the size.
Setting up the bleed
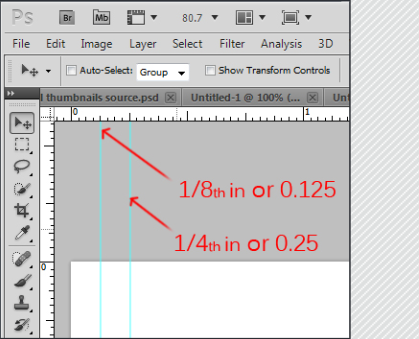
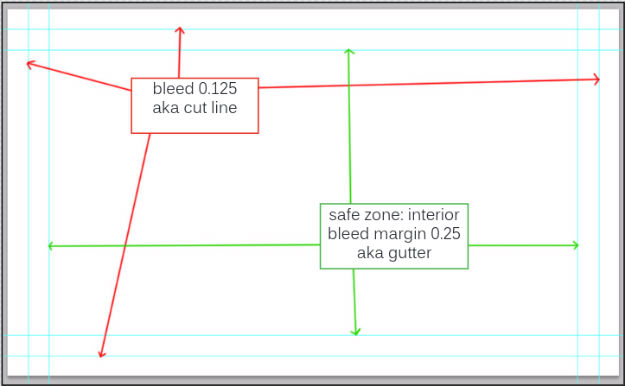
Next is setting up the interior bleed, or gutter. This step is very similar to the Illustrator setup except Photoshop doesn’t have an “artboard.” In the place of an artboard we use the guides to build an artboard area and gutter. As done before in the Illustrator tutorial, click and drag the guides from the rulers but this time place the guides on 0.125 and 0.25 in each direction.
Re-setting Zero
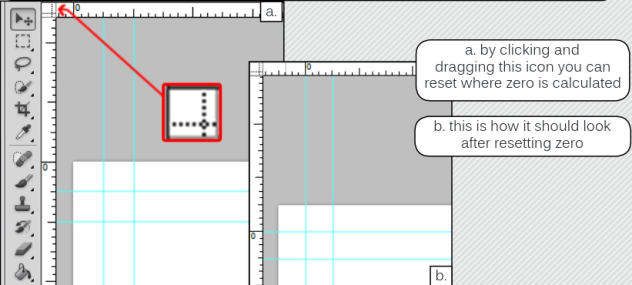
Resetting zero to the first intersecting guides (0.125 in guides) by clicking in the top left corner of the rulers and drag it to where you want zero to be. This will align the rulers so that the first guides will represent the artboard.
Understanding Bleed in Photoshop
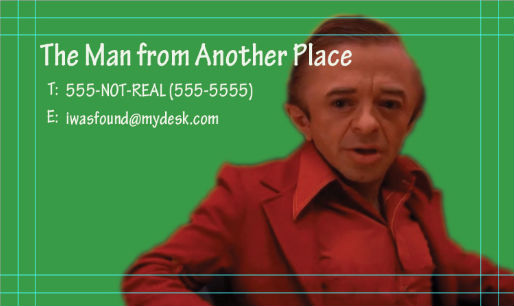
Any image or colour that you want to bleed off the edge of the card (printed right up to the edge) needs to be set up so the colour or image bleeds both the interior gutter safety and the cut line all the way to the edge of the file.
Common Mistakes
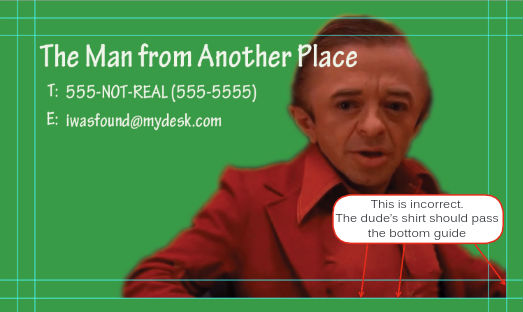
Sometimes people think that because a file barely passes the cut guide that then they have enough bleed. This is incorrect because we need a full extra 1/8th inch to account for any shifting or slipping on the cut. This is the same reason we use the gutter safety keeping the text 1/8th inch from the cut.
Another classic move is just adding white or black to the extra bleed area. This is also incorrect. Think about the blade and how if it isn’t absolutely perfect in it’s cut there could be a ugly thin white or black line on the edge.

The example below show correct bleed lines with Photoshop!